Goautodial Getting Started Guidev4
Goautodial 4.0 Getting Started Guide
Disclaimer
The author of this document does not warrant or assume any legal liability or responsibility for the accuracy, completeness, or usefulness of any information, product, or process disclosed. Any consequences or results achieved directly or indirectly by this document or information are entirely your responsibility.
Default usernames and passwords
| Login | Password | |
| MySQL (mysql -u root -p) http://ServerIPAddress/phpmyadmin/ | root | |
| Portal – https://ServerIPAddress/ | goadmin | G0autodial2018 |
Requirements
Download the GoAutoDial CE 4.0 installer: GOautodial-4-x86_64-Final-20191005-1520.iso - Burn to DVD or create bootable USB.
Installation
Before starting, please make sure machine is CONNECTED TO A NETWORK.
Boot machine from the GoAutoDial CD and hit Enter to get started. 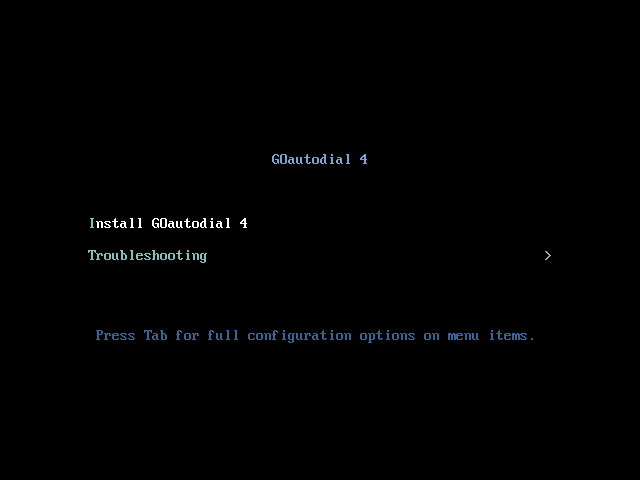
The automated installer takes care of everything so you just need to wait for around 15 minutes depending on your hardware for the whole installation process to finish
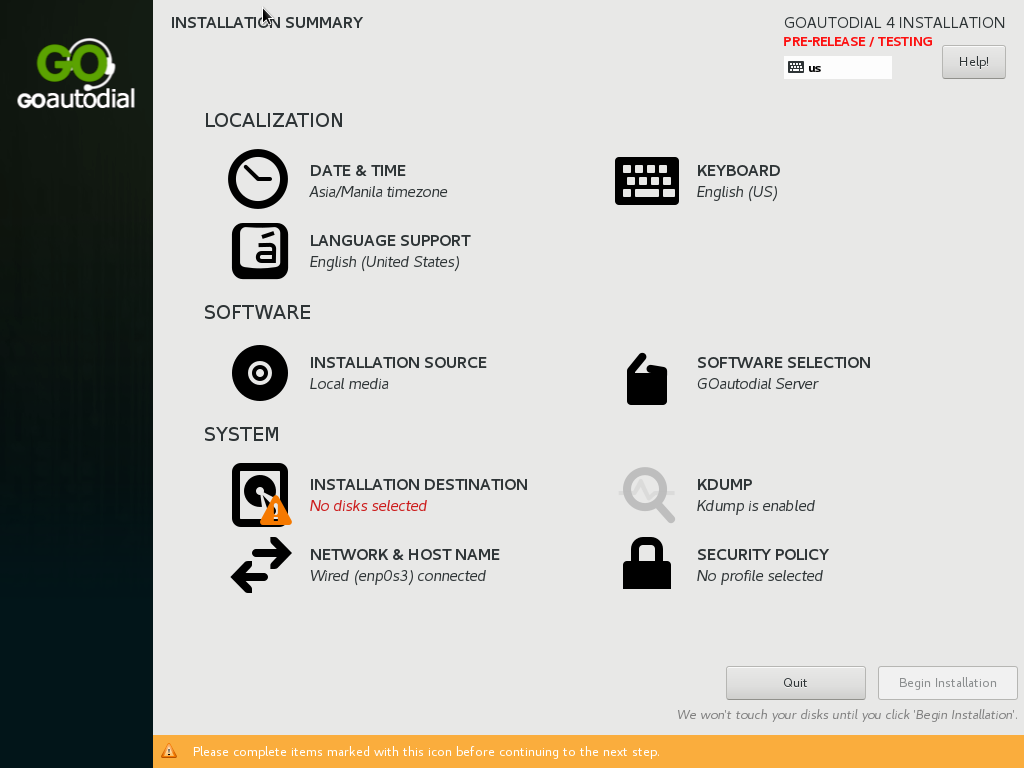
Click INSTALLATION DESTINATION
NOTE: Please take note that you need to configure the IP Address on the installation procedure of the ISO. you need to finalized the IP Address of the server before you create the agents.
Tick/Choose Automatically configure partitioning and click DONE Button.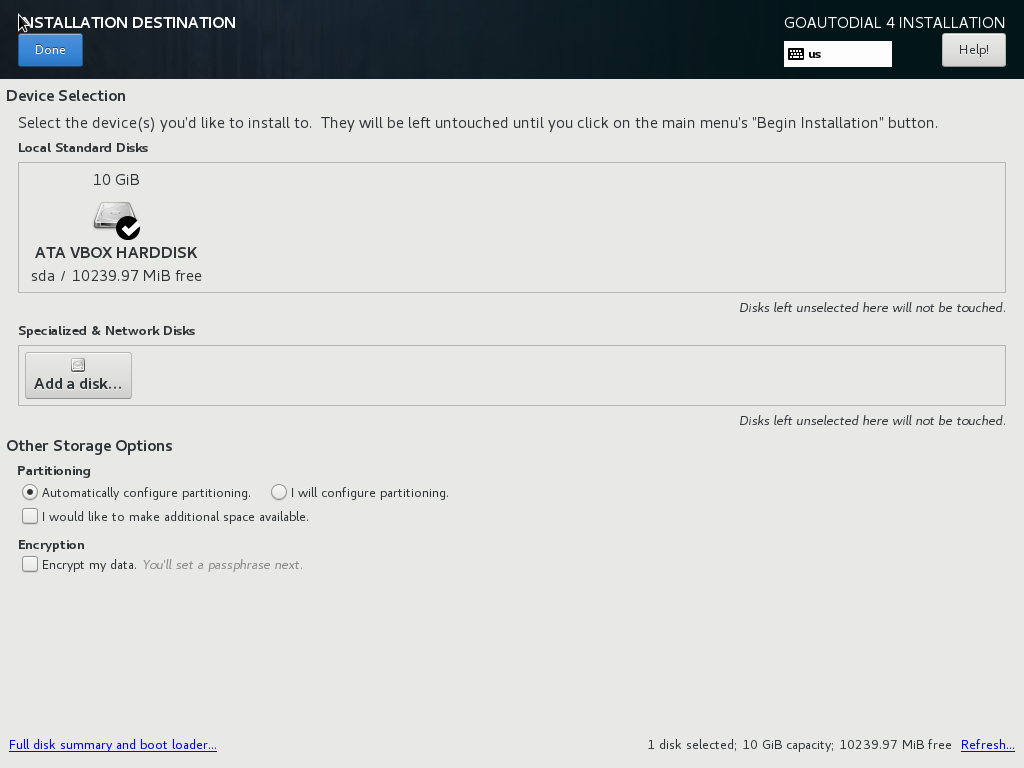
Click Begin Installation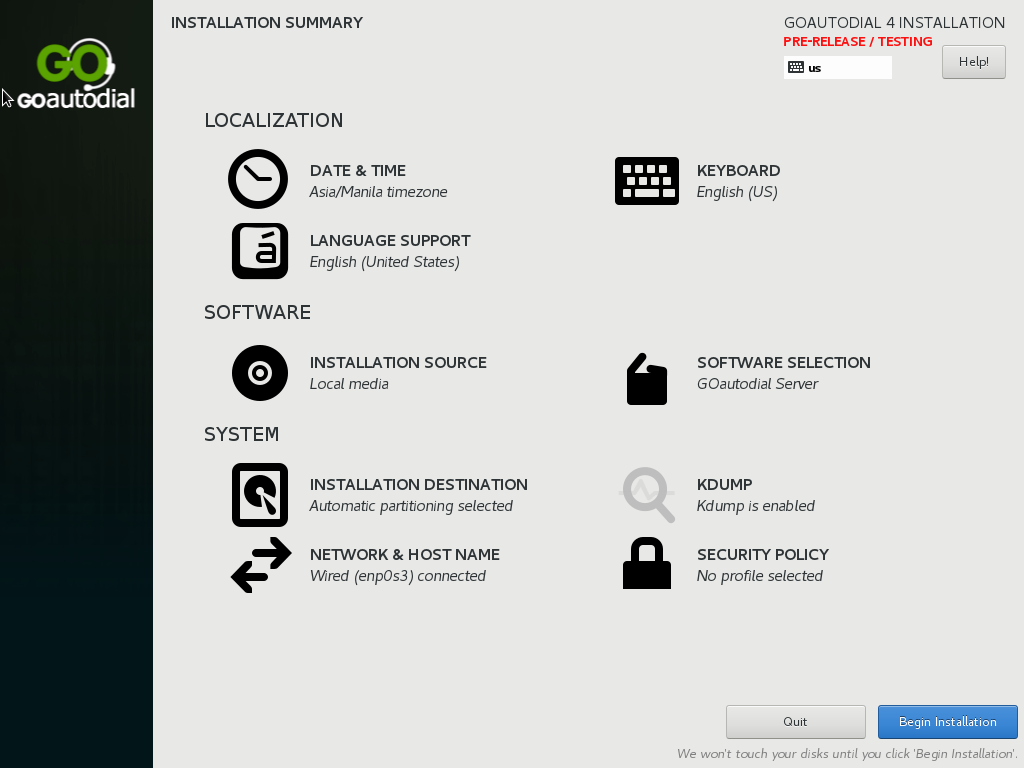
Click ROOT PASSWORD 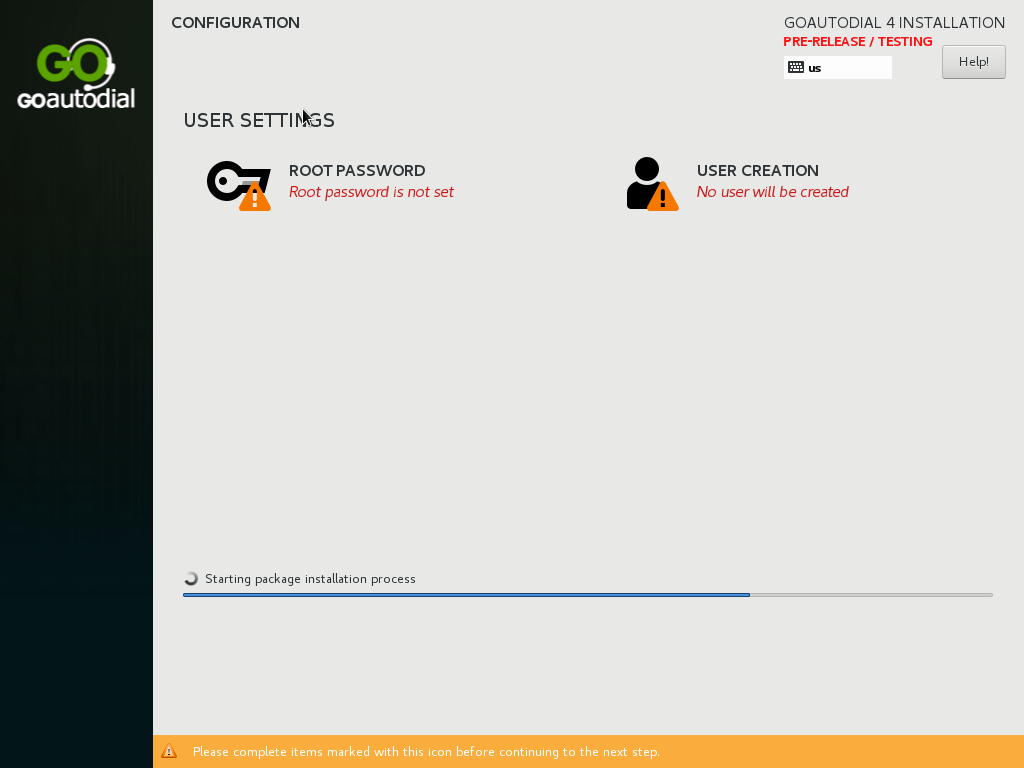
Enter your desired root password and click DONE Button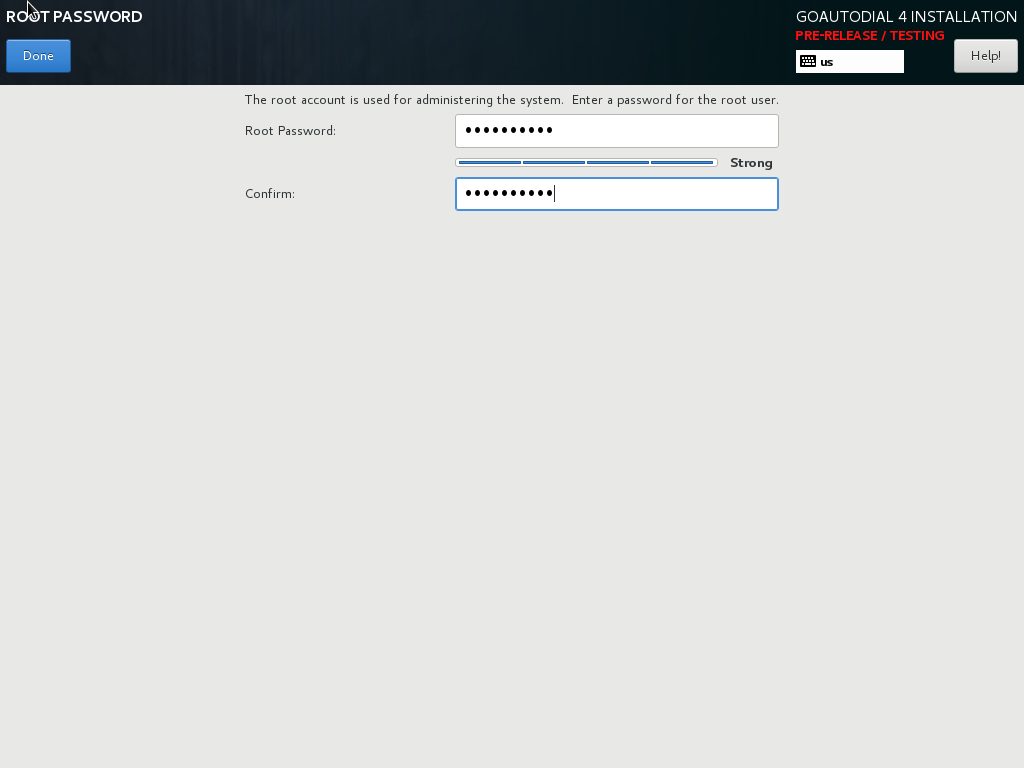
Installation Complete!! Remove the installation CD then Click Reboot button.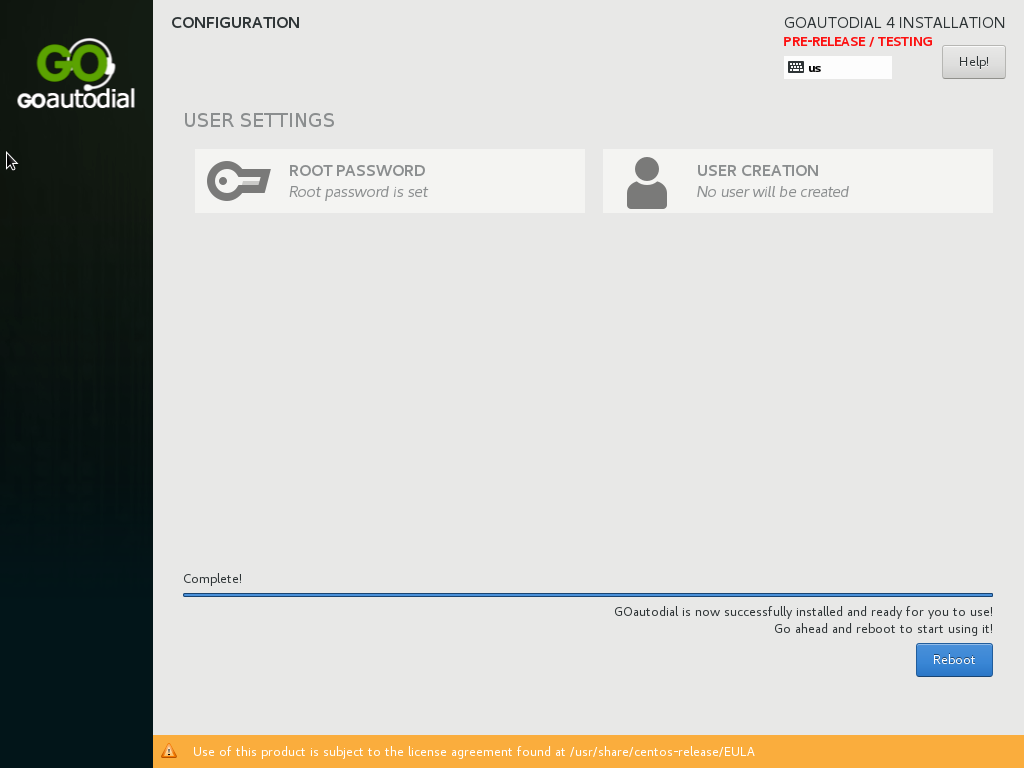
ADMIN LOGIN PROCEDURE
Open your GoAutodial CE portal via a browser by putting the IP address on the address bar.
Login : goadmin
Password : G0autodial2018

How to setup an Outbound Campaign
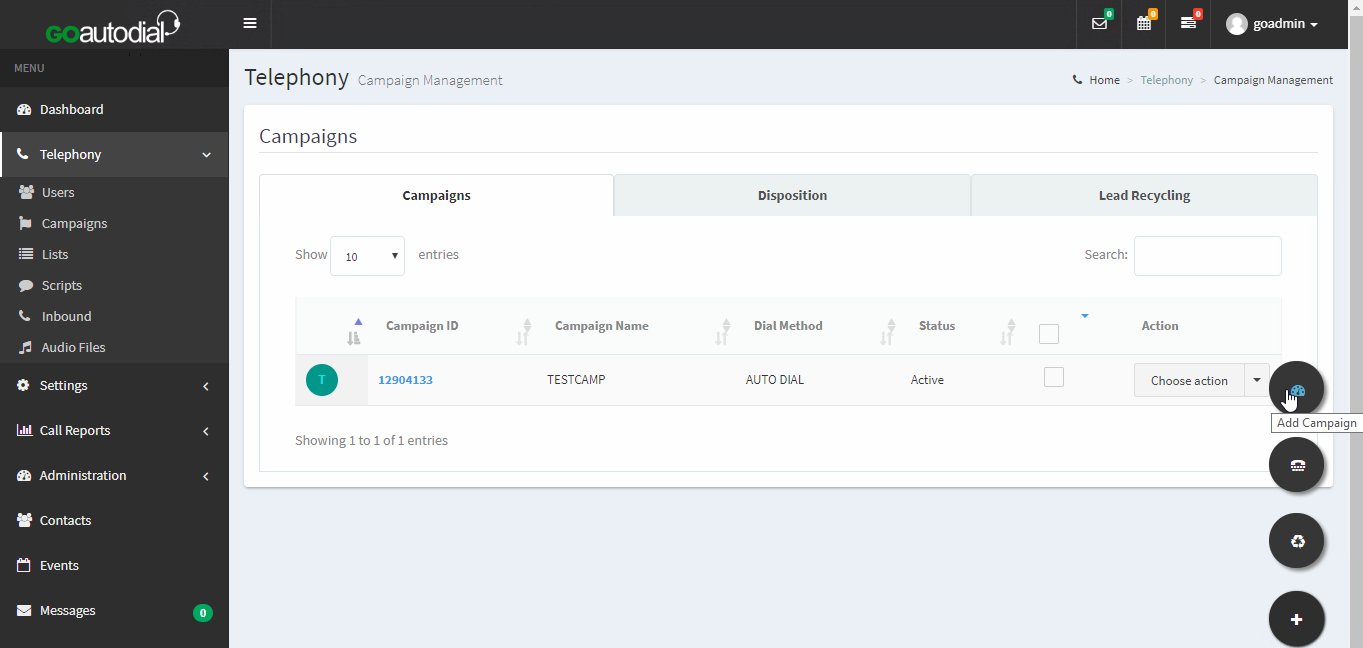
1. Login to your portal as an administrator and Select TELEPHONY and CAMPAIGNS on the left side panel.

2. Click on ADD NEW CAMPAIGN and select the CAMPAIGN TYPE (Outbound).
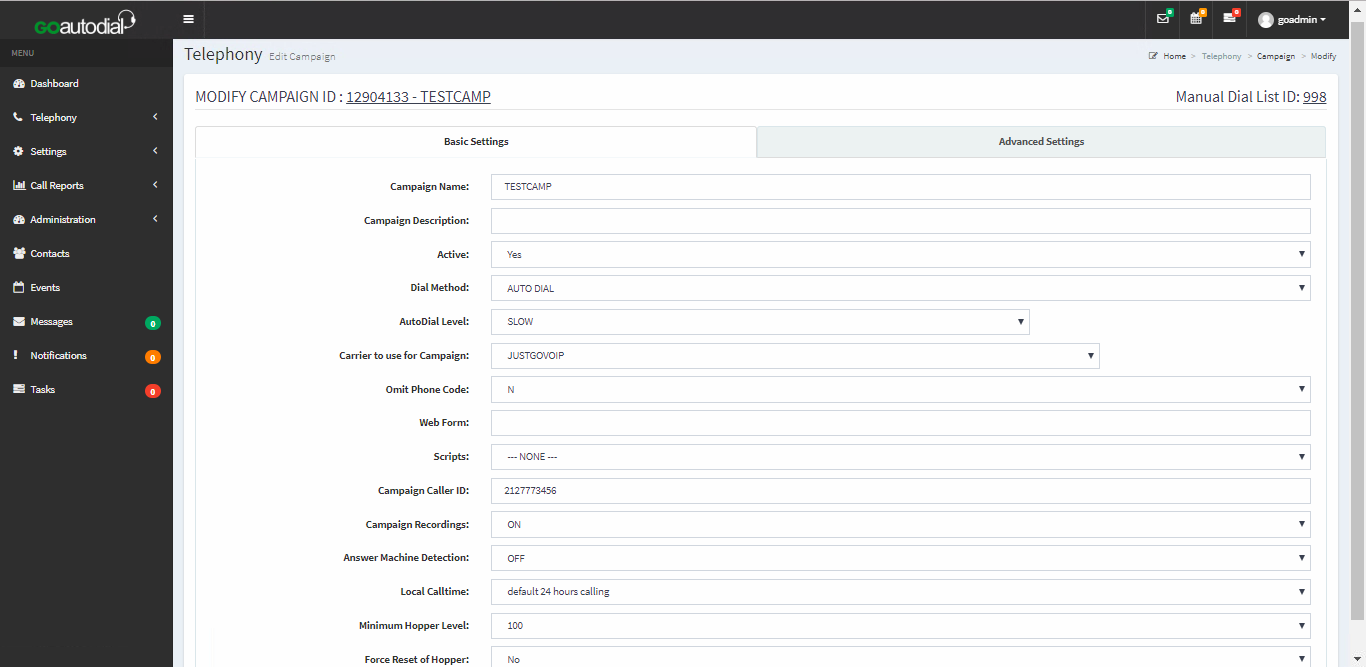
3. Click the Campaign ID to check the campaign settings. you can also select a preferred settings for your Campaign. For the Dial Method you can choose Manual, Auto_Dial or Predictive and for the Auto Dial Level you can choose Slow, Normal, Max or High. "Carrier to use for this Campaign" allows you to choose between Manually created carrier and an existing JustGoVoIP account for your campaign. Please note that only active carriers will appear/ will be shown. Click "Update" once done.
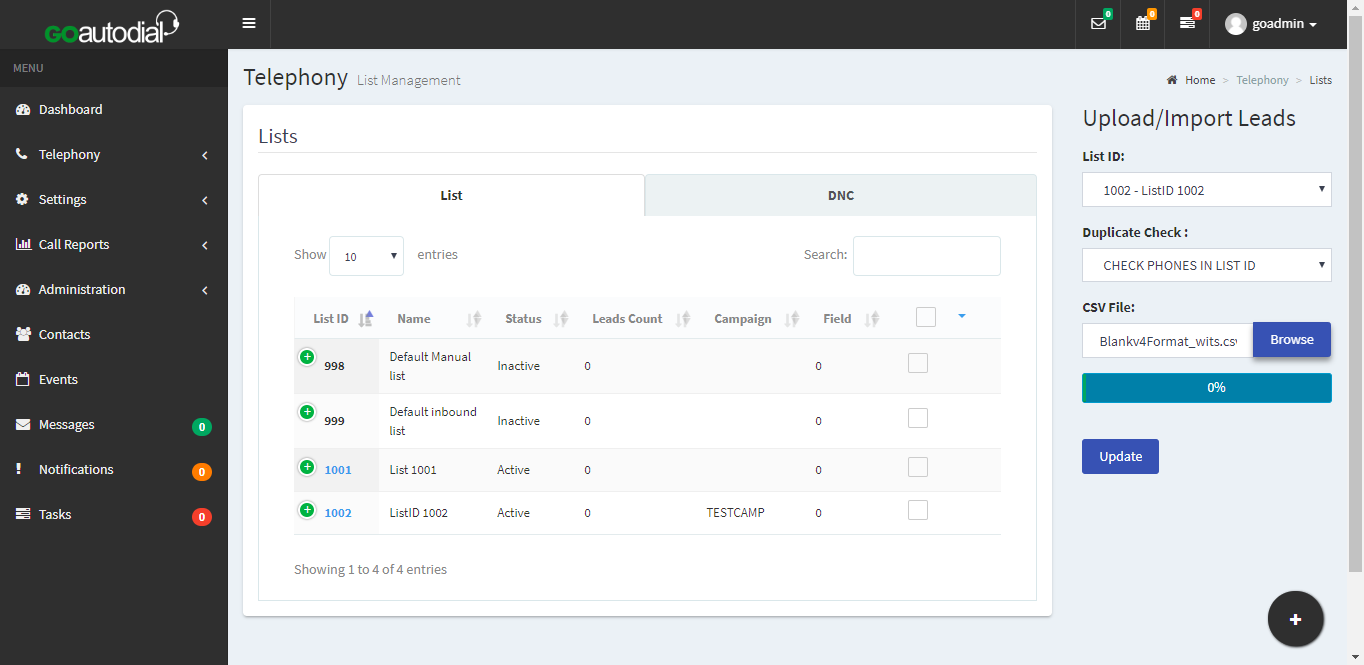
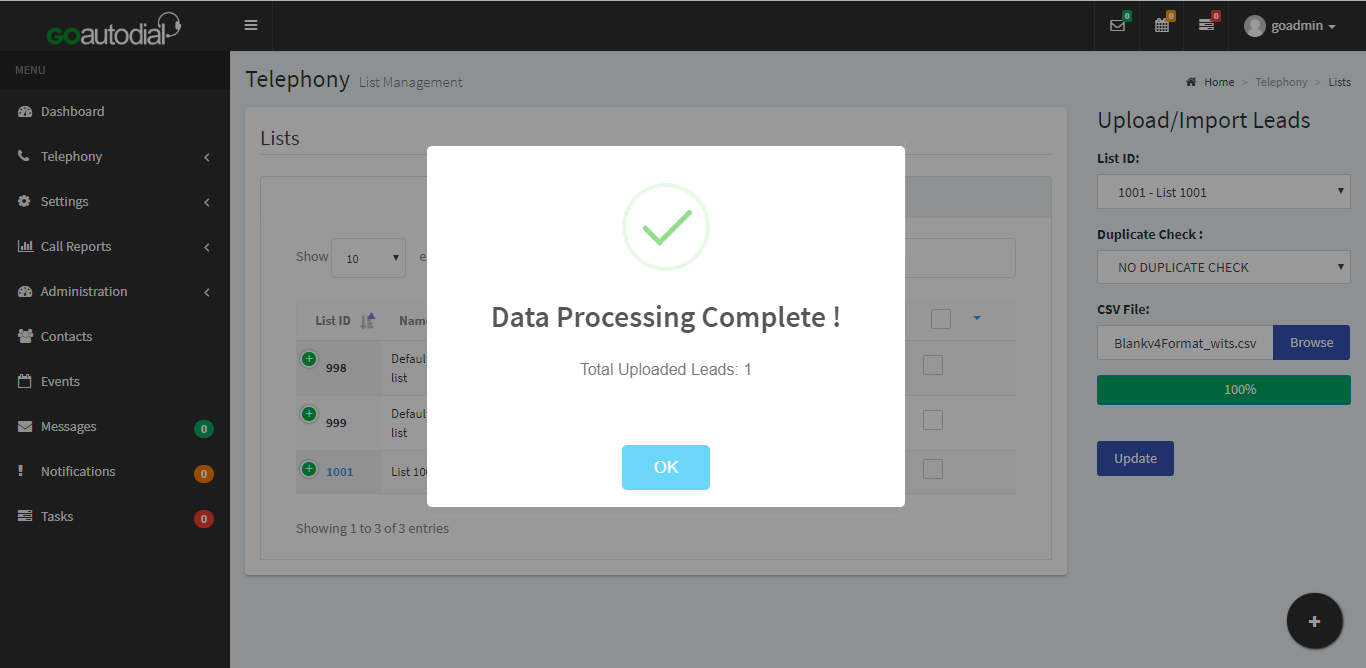
4. To upload your lead file. Click TELEPHONY and LIST. click the + sign button on the bottom right corner to create a new list id.
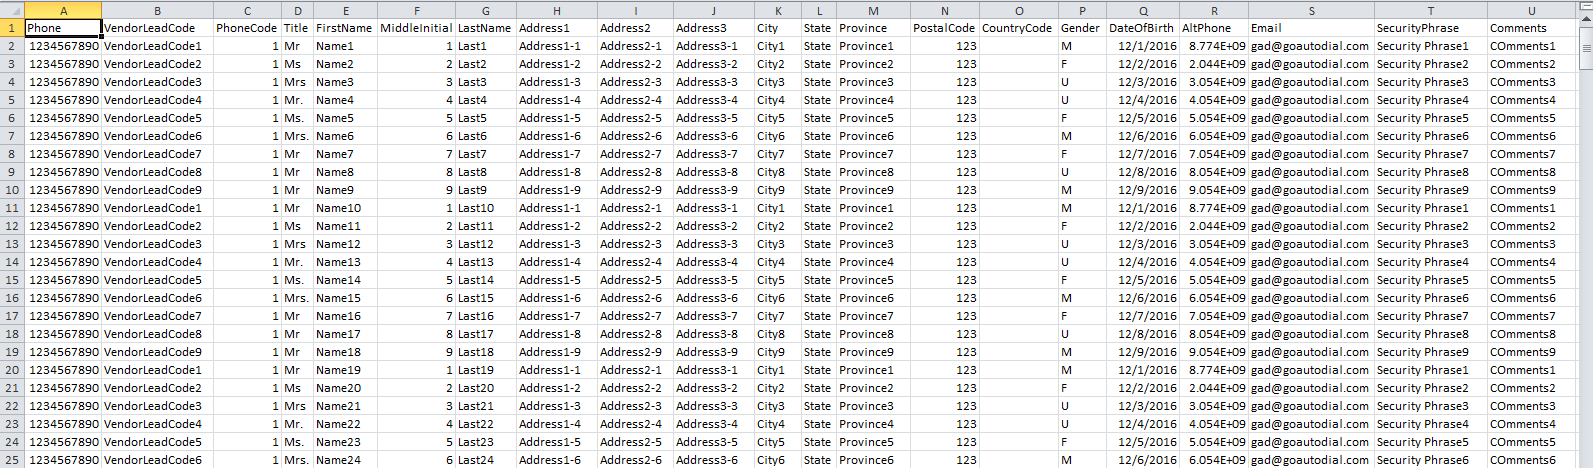
5. Make sure that you've followed the lead file format and save as .csv comma delimited.
6. Lead status will be posted after you successfully uploaded your lead file, Click Ok once its done.
AGENT LOGIN PROCEDURE
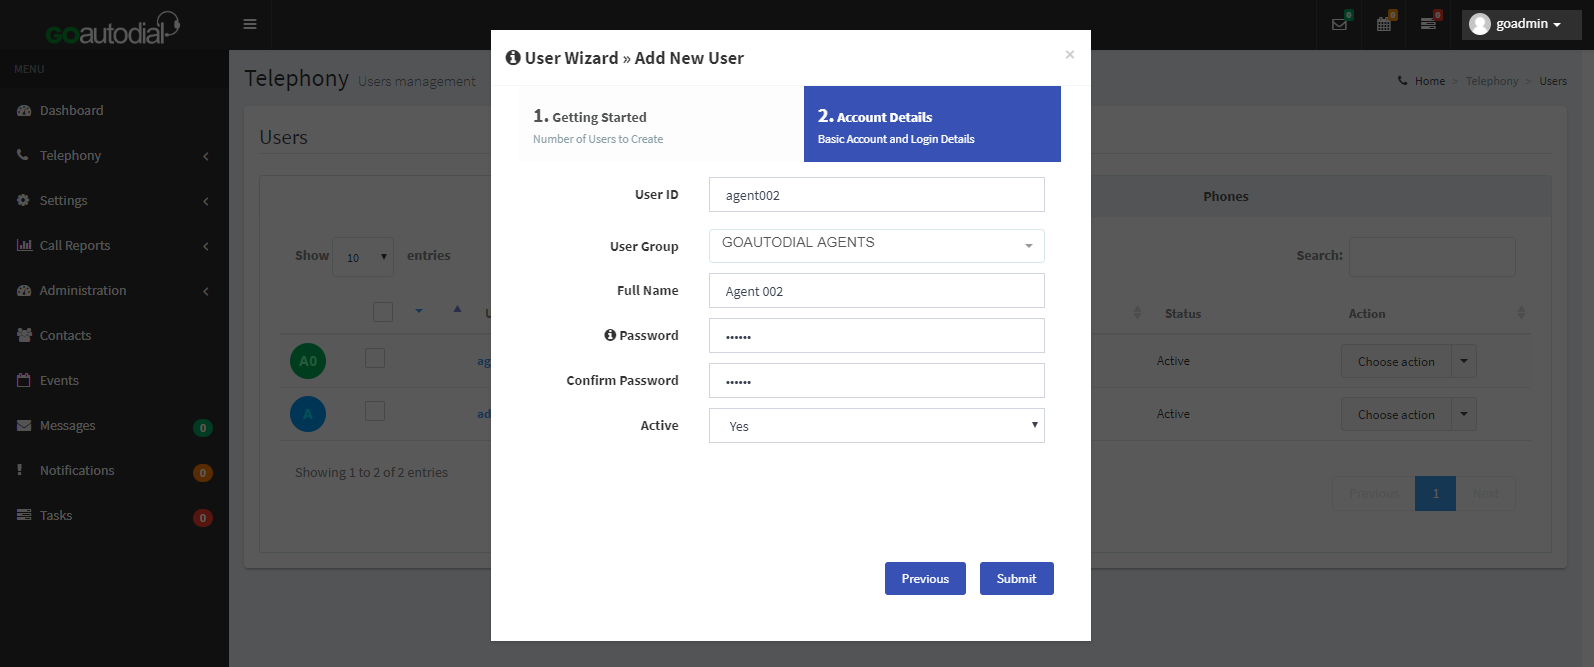
NOTE: kindly create a new agent on the admin portal. Go to TELEPHONY and USERS click the + button on the lower right corner to create a new agent. after creating kindly disable agent001 and use the newly created agent.
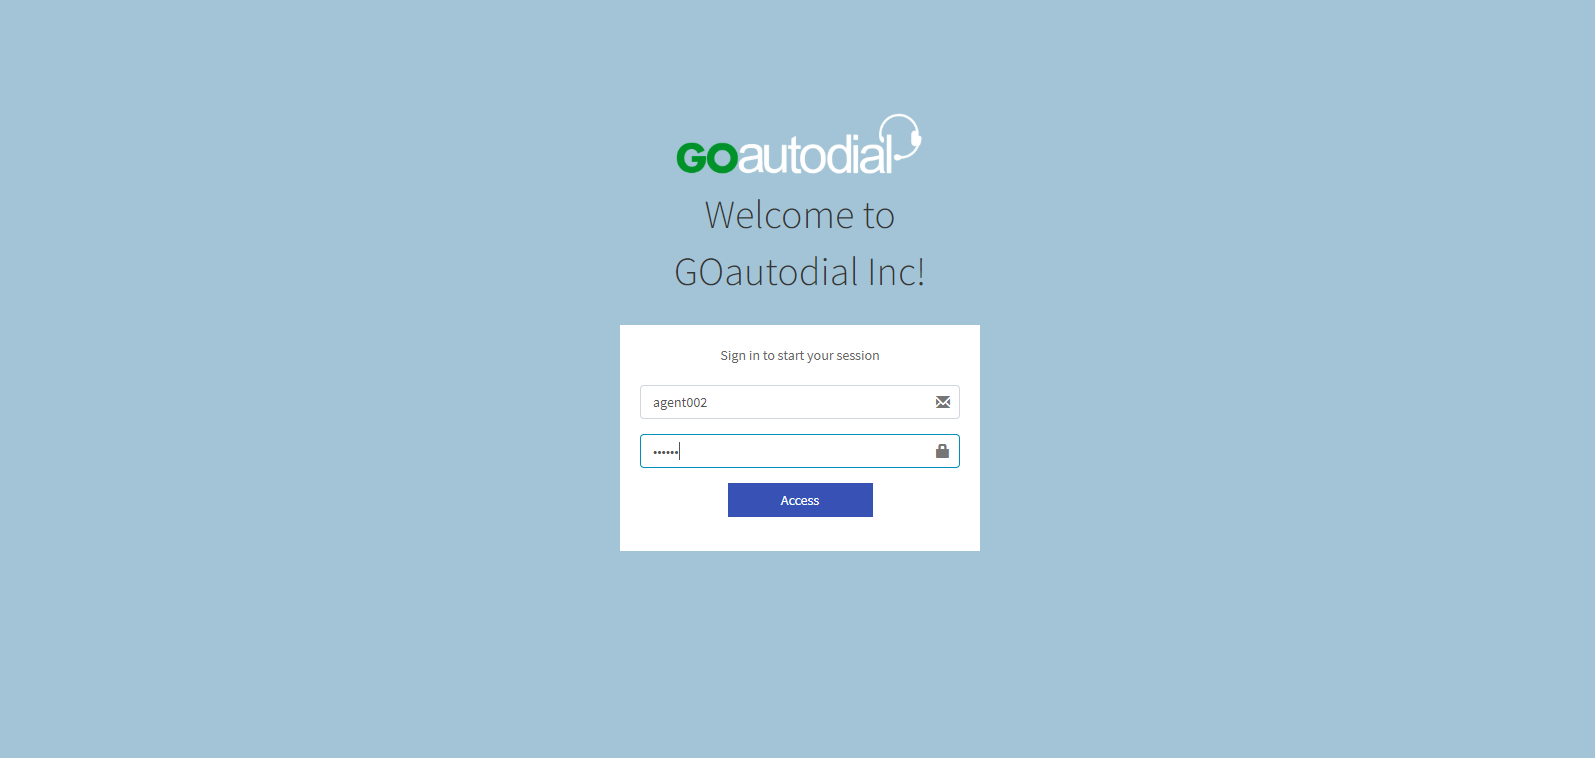
1. Once the new agent has been created open your GoAutodial CE portal via a browser by putting the IP address on the address bar. Input the agent credentials below then click ACCESS.
Agent Login: agent002
Agent Password: Go2018
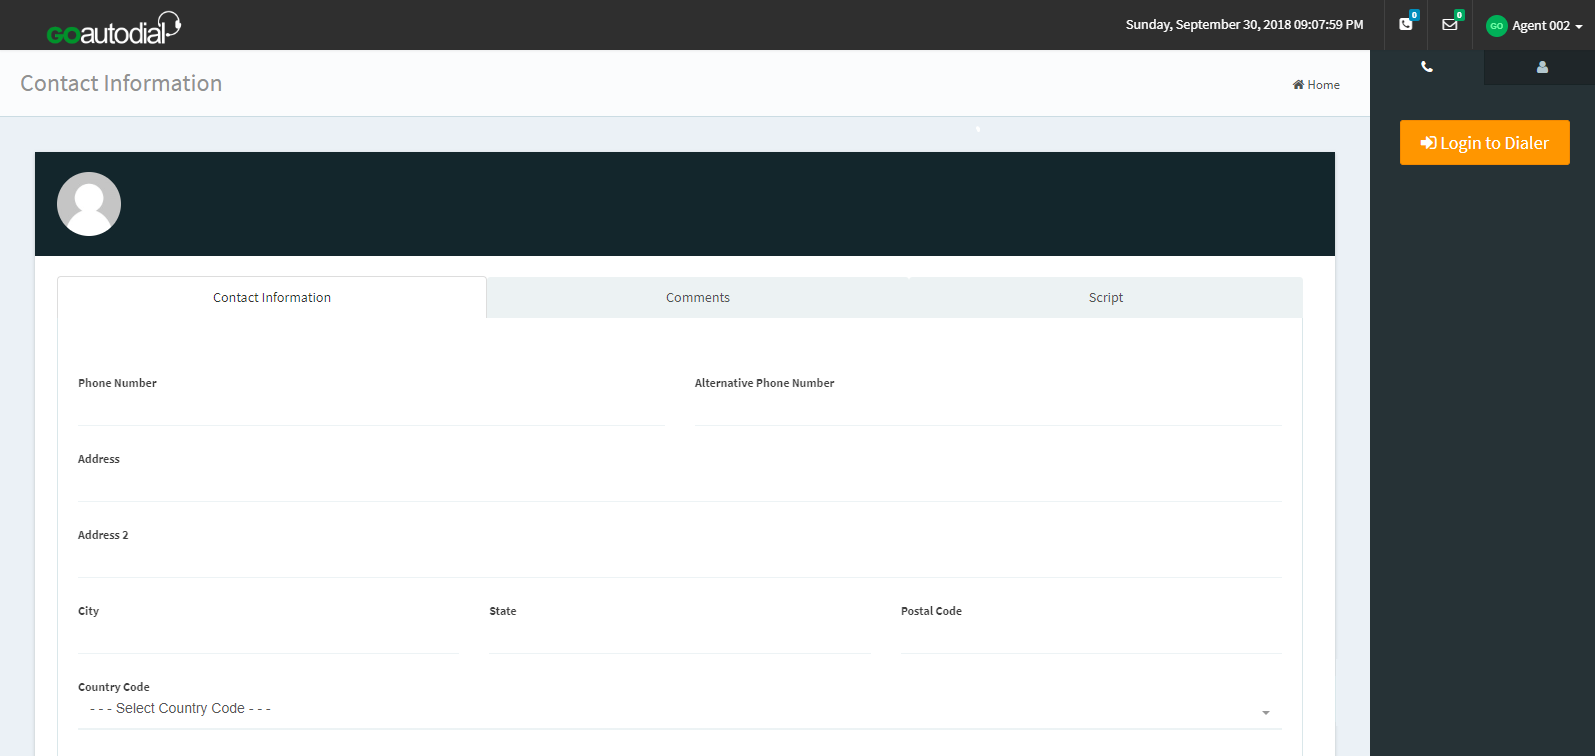
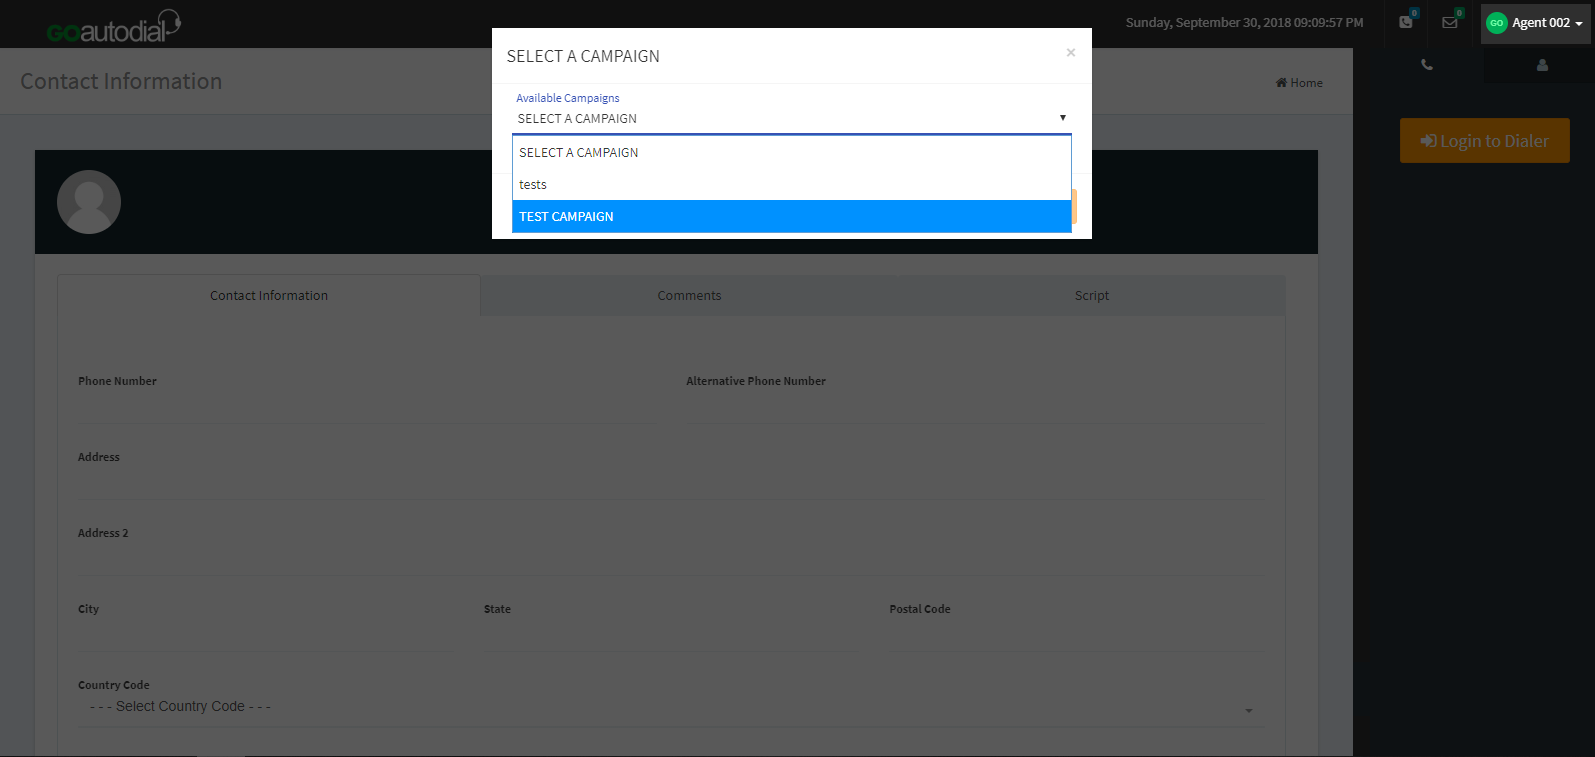
2. Select the "LOGIN TO DIALER" so you can select the Campaign then proceed your agent will heard a voice prompt “You are currently the only person in this conference” and on the left bottom corner there's a notification "Your phone extension is now registered." that means the agent is now login properly
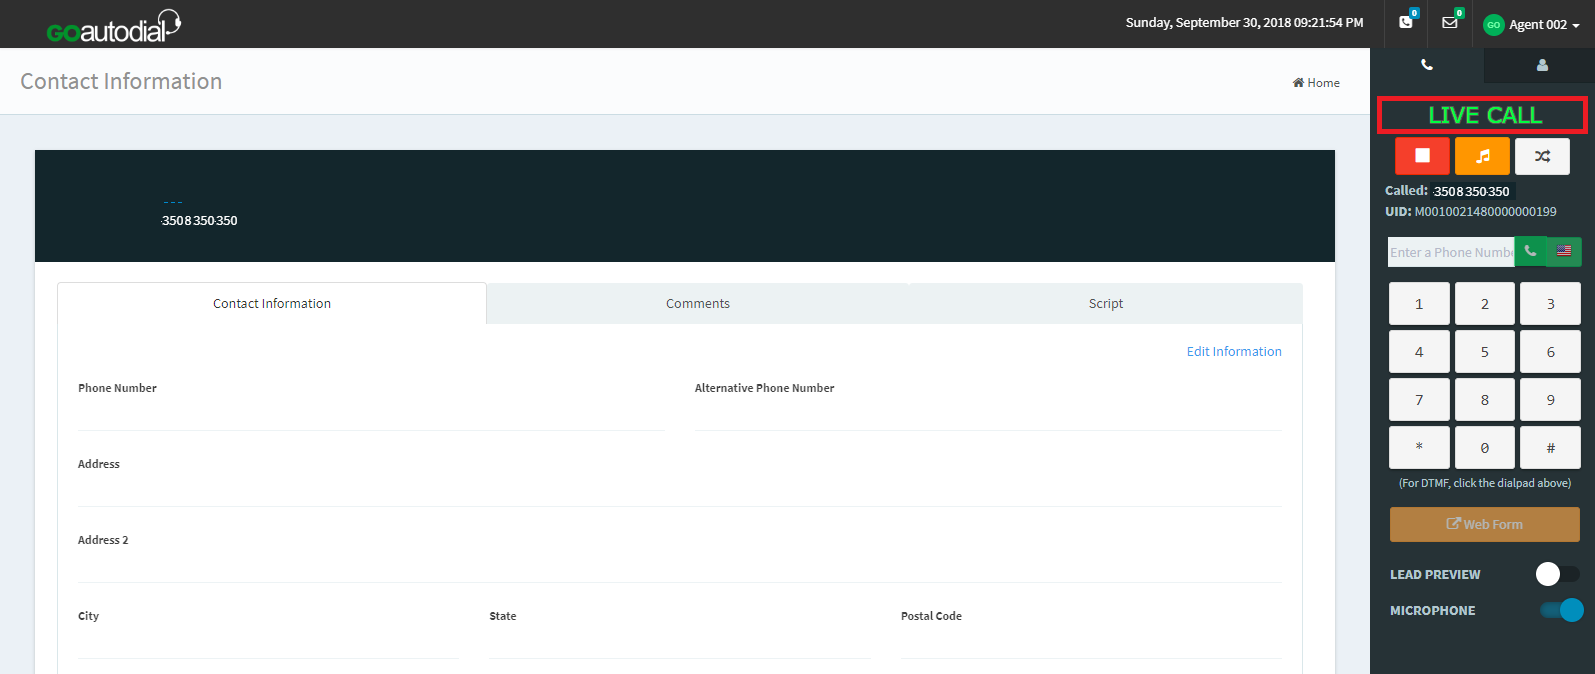
3. Click Resume Button to start receiving calls if your campaign is using a Predictive dialing or Auto Dial method of dialing. once the highlighted "LIVE CALL" will be the key/basis to know if the call was successfully connected.
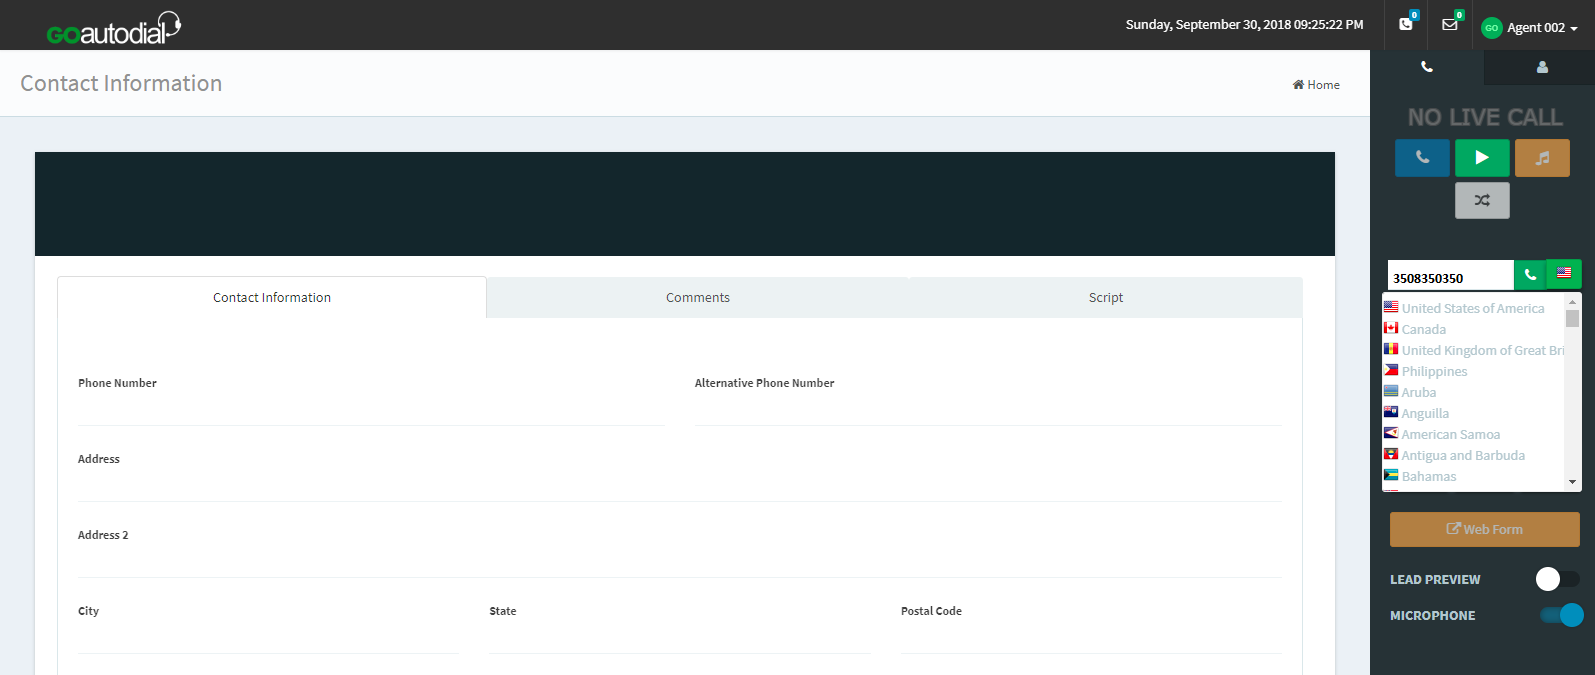
4. To do Manual Dial just type in the phone number on the manual dial box then click the flag of the country that you are planning to call. once the highlighted "LIVE CALL" will be the key/basis to know if the call was successfully connected.
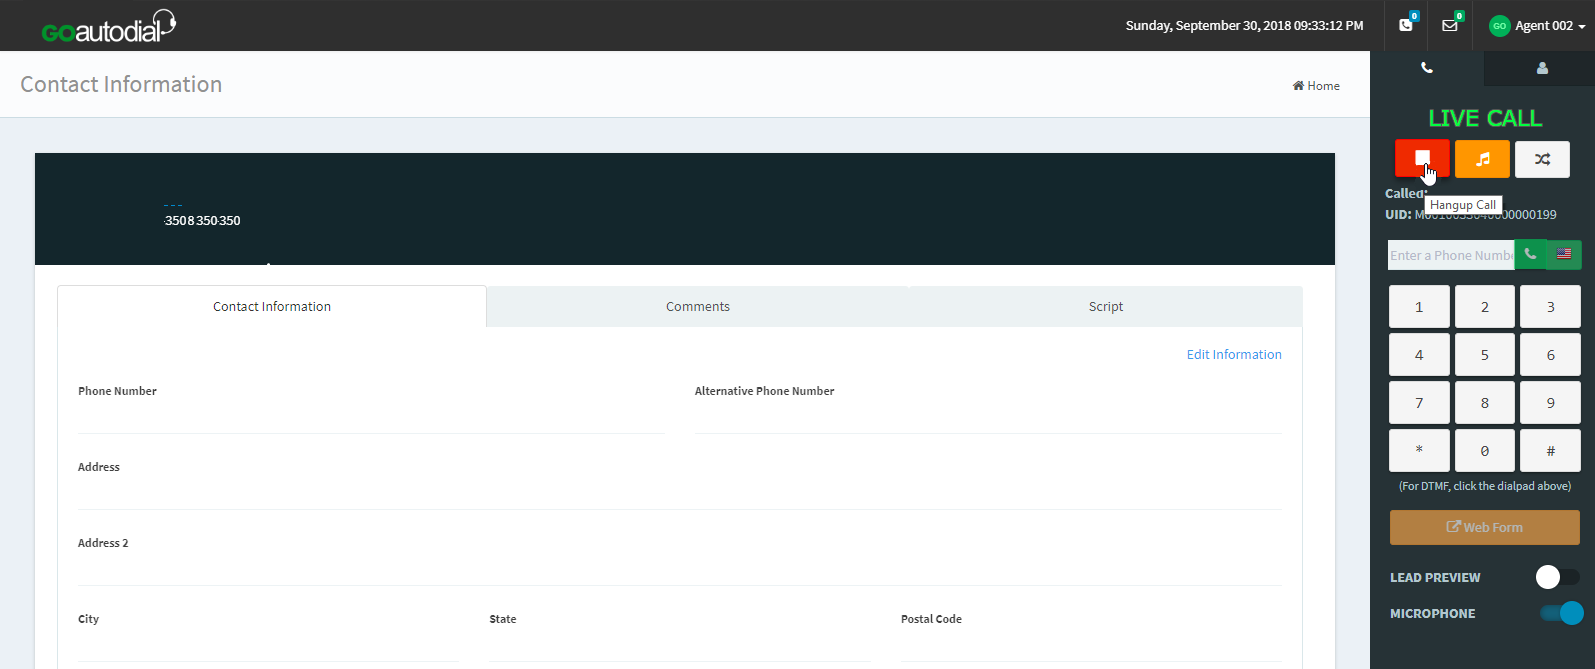
5. Click Hangup Button on the agent portal to hangup the call and select a Call Disposition.

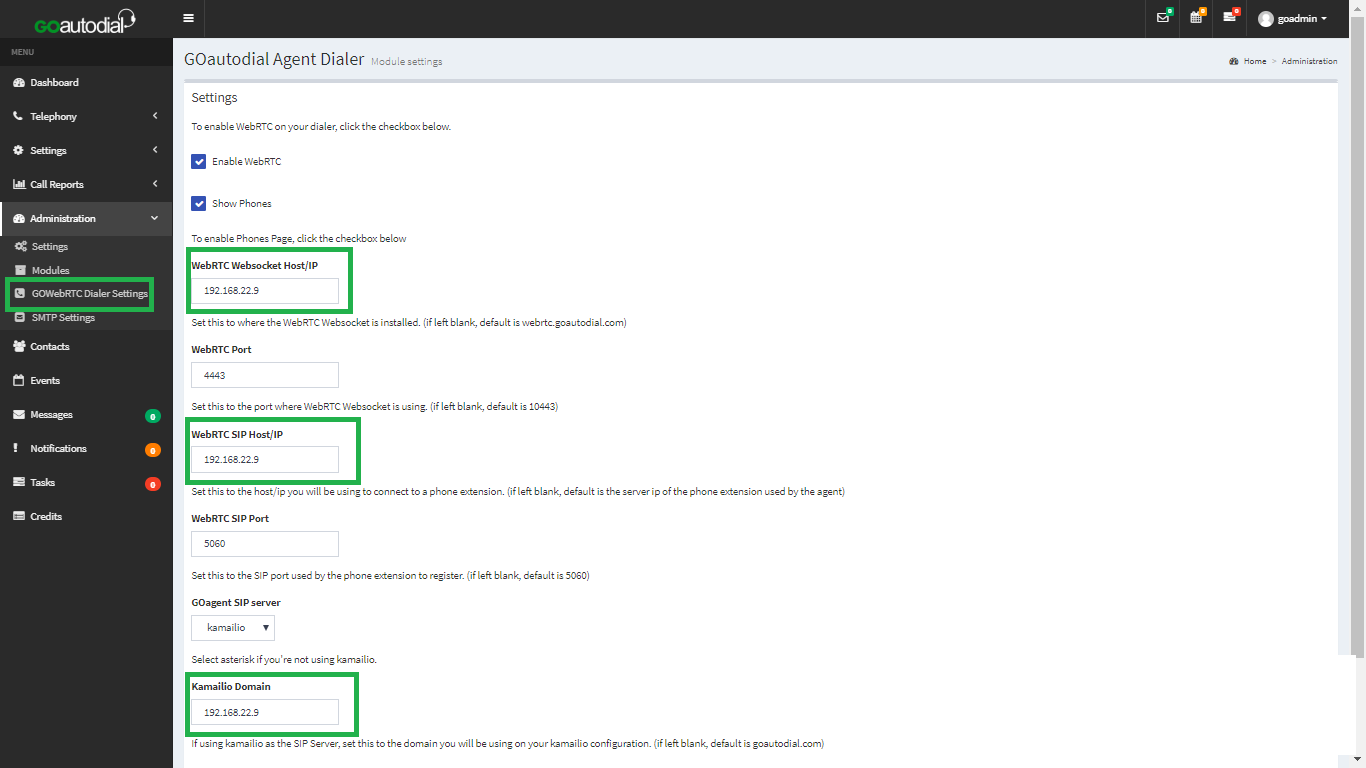
Administration Gui Settings and Configuration Files to check:
Administration Settings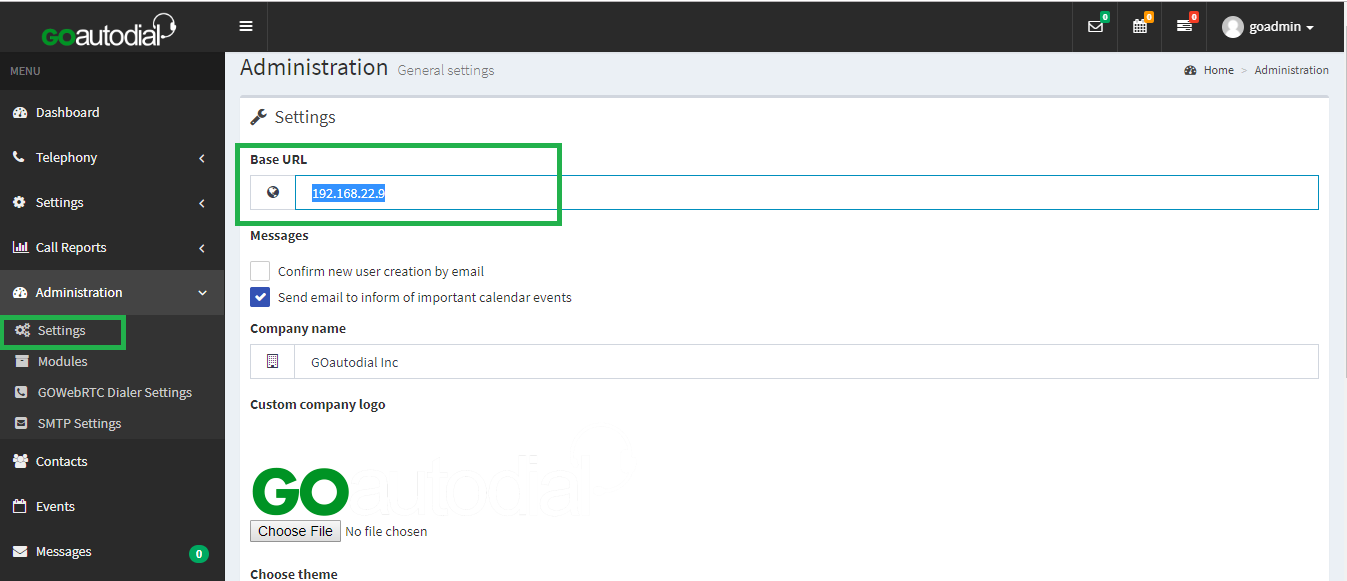
Configuration Files
nano /var/www/html/php/Config.php
<?php
// database configuration
define('DB_USERNAME', 'goautodialu');
define('DB_PASSWORD', 'goautodialu1234');
define('DB_HOST', 'localhost');
define('DB_NAME', 'goautodial');
define('DB_PORT', '3306');
define('DB_NAME_ASTERISK', 'asterisk');
define('DB_USERNAME_KAMAILIO', 'kamailiou');
define('DB_PASSWORD_KAMAILIO', 'kamailiou1234');
define('DB_HOST_KAMAILIO', 'localhost');
define('DB_NAME_KAMAILIO', 'kamailio');
define('DB_PORT_KAMAILIO', '3306');

// other configuration parameters
define('CRM_ADMIN_EMAIL', '[email protected]');
?>
nano /var/www/html/php/goCRMAPISettings.php
<?php
define ('gourl', 'https://192.168.22.9/goAPIv2');
define ('goUser', 'goAPI');
define ('responsetype', 'json');
?>
nano /etc/kamailio/kamailio.cfg
#!substdef "!MY_IP_ADDR!192.168.22.9!g"
#!substdef "!MY_DOMAIN!vaglxc01.goautodial.com!g"

/* add local domain aliases */
alias="192.168.22.9"
alias="vaglxc01.goautodial.com"

/* uncomment and configure the following line if you want Kamailio to
   bind on a specific interface/port/proto (default bind on all available) */
listen=udp:127.0.0.1:5060
listen=udp:192.168.22.9:5060

# ----- rtpengine params -----
modparam("rtpengine", "rtpengine_sock", "udp:127.0.0.1:5066")
modparam("rtpengine", "rtpengine_disable_tout", 20)
#modparam("rtpengine", "db_url", DBURL)
nano /etc/rtpengine/rtpengine.conf
[rtpengine]

table = 0
# no-fallback = false
### for userspace forwarding only:
# table = -1

### a single interface:
interface = 192.168.22.9
### separate multiple interfaces with semicolons:
# interface = internal/12.23.34.45;external/23.34.45.54
### for different advertised address:
# interface = 12.23.34.45!23.34.45.56
nano /etc/kamailio/tls.cfg
[server:default]
method = TLSv1+
Check HOWTO Update Latest Version via Github for updated instructions
Go to top