- Table of contents
- Goautodial Getting Started Guidev3
Goautodial Getting Started Guidev3
Goautodial 3.0 Getting Started Guide
Disclaimer
The author of this document does not warrant or assume any legal liability or responsibility for the accuracy, completeness, or usefulness of any information, product, or process disclosed. Any consequences or results achieved directly or indirectly by this document or information are entirely your responsibility.
Default usernames and passwords
Goautodial 3.0:| Login | Password | |
| MySQL (mysql -u root -p) http://ServerIPAddress/phpmyadmin/ | root | vicidialnow |
| Limesurvey https://ServerIPAddress/limesurvey/admin/admin.php | admin | kamote1234 |
| Portal – http://ServerIPAddress/ | admin | goautodial |
| User Login | agent001 to agent020 | goautodial |
| Phone Login (SIP) | 8001 to 8020 | goautodial |
Requirements
Download the GoAutoDial CE 3.0 release from goautodial-64bit-ce-3.3-final.iso - Burn to CD using program like Nero on Windows or K3B on Linux and configure your server to boot from CD.
Installation
Before starting, please make sure machine is CONNECTED TO A NETWORK.
Boot machine from the GoAutoDial CD and hit Enter to get started. 
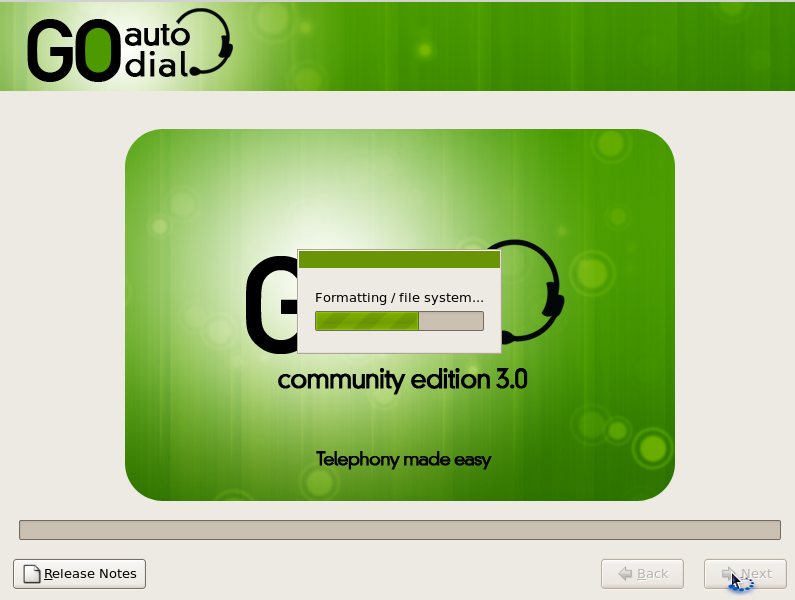
The automated installer takes care of everything so you just need to wait for around 15 minutes depending on your hardware for the whole installation process to finish
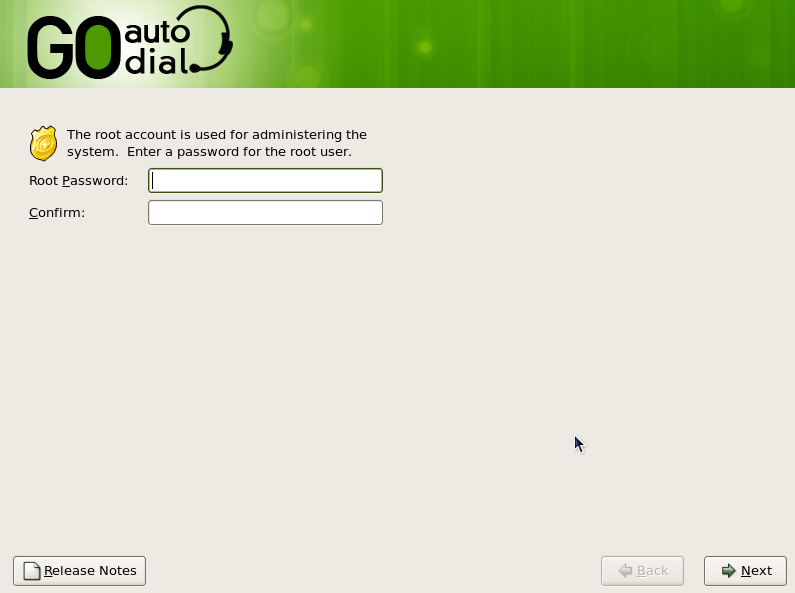
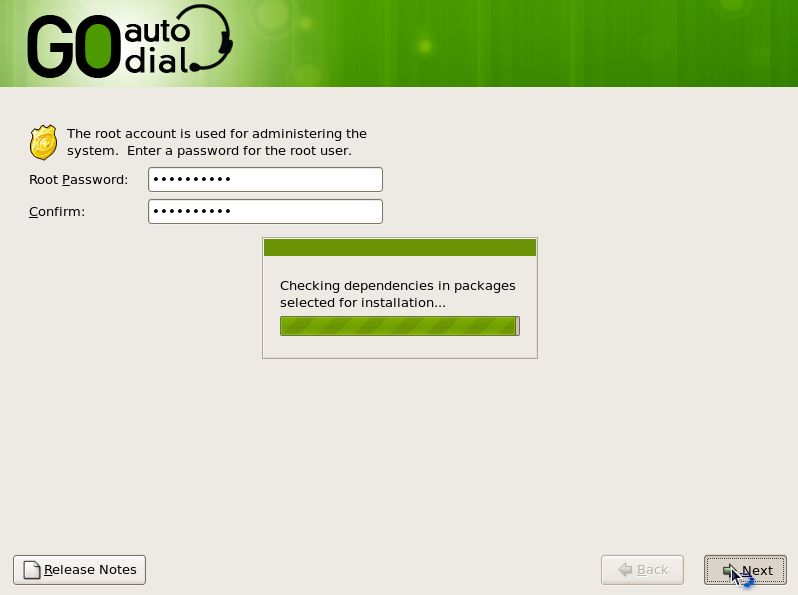
Enter your desired root password
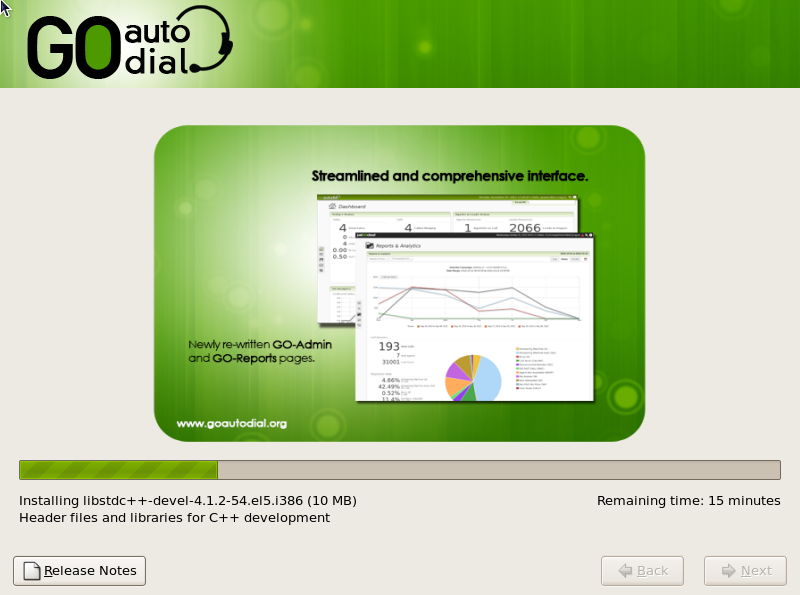
Halfway through the package installation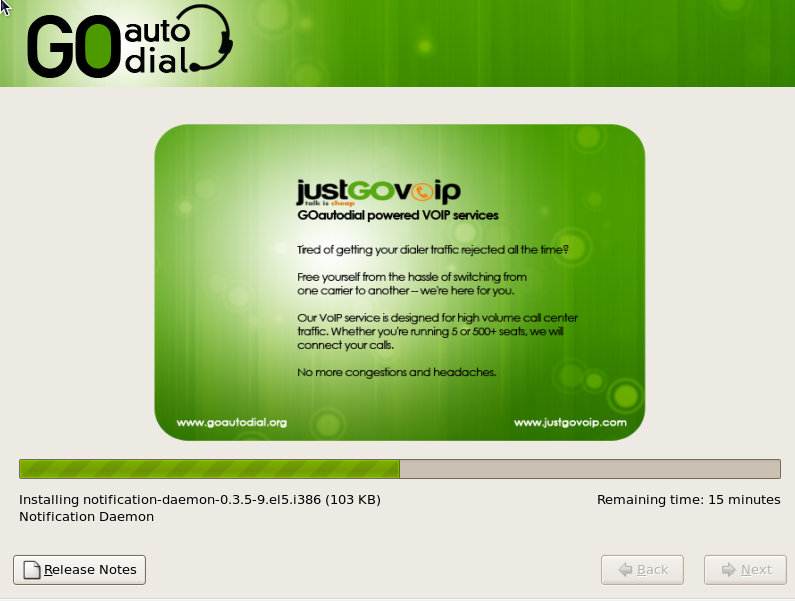

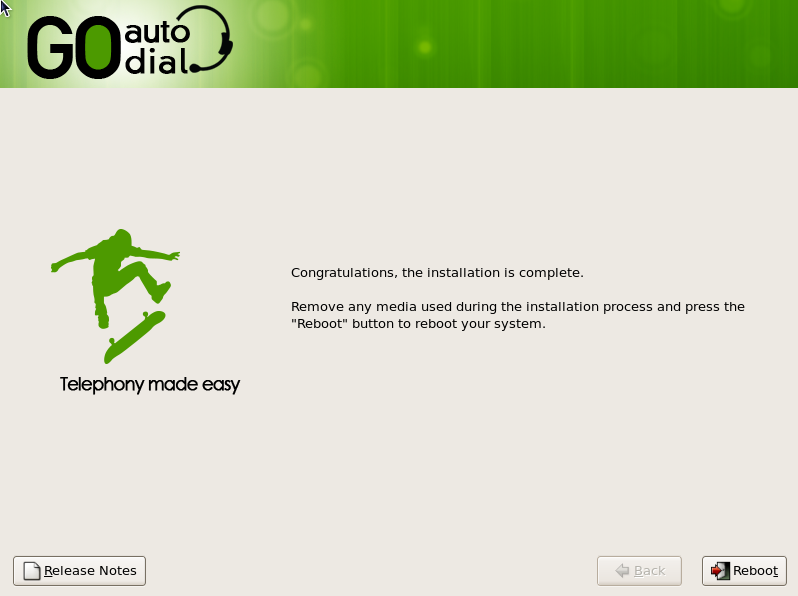
Installation Complete! Remove the installation CD then press ENTER to reboot.
After the reboot, you need to run an update. Type "yum update" on your console (see picture below). After the update completes, reboot your server.
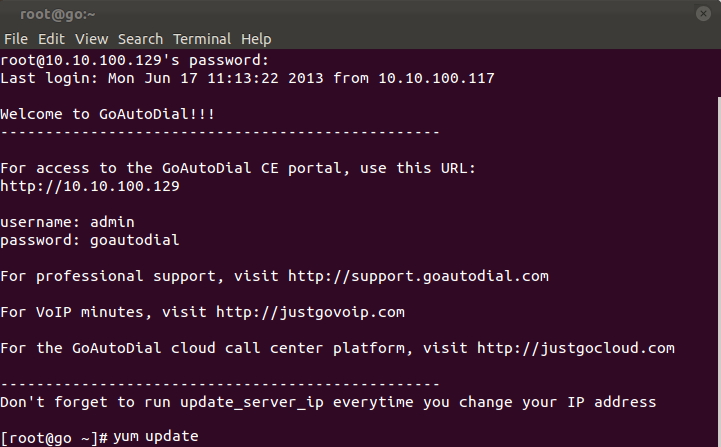
By default DHCP is enabled. The IP of your server depends on what is assigned by your DHCP server.

GoAutoDial does not have a desktop manager installed so you need to access it via network from your workstation or login physically to the server.
How to Configure Static IP
1. via SSH or Putty type setup then Press Enter

2. Select Network Configuration

3. Edit Device

4. select eth0

5. click the SPACE Bar in your keyboard to unchecked the DHCP option after that input your Static IP

6. Edit DNS configuration

7.Then input DNS (e.g 8.8.8.8 / 208.67.222.222)

After saving the Network configuration Restart the Network services by running this command service network restart via SSH
How to change Time zone
1. via SSH or Putty type setup then Press Enter
2. select Timezone Configuration press enter

3. select Timezone then OK

4. after configuring your Timezone restart mysqld and httpd by typing /etc/init.d/mysqld restart and service httpd restart


5. after restarting mysqld and httpd type date to see Date and Time in your Server

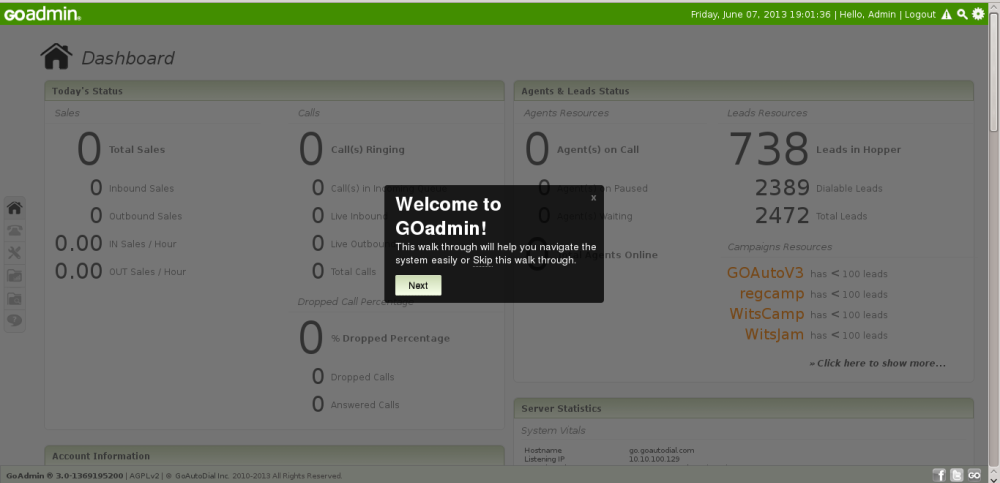
Open your GoAutodial CE portal via a browser by putting the IP address on the address bar.
Login : admin
Password : goautodial|
How to setup an Outbound Campaign
1. Login to your portal as an administrator and Select TELEPHONY and CAMPAIGNS on the left side panel.

2. Click on ADD NEW CAMPAIGN and select the CAMPAIGN TYPE (Outbound).

3. Check the tickbox to manually edit the Campaign ID and Campaign Name

4. Browse to your Lead File directory, Select the Specific Country/Code then Select a Duplicate phone checker between Check for duplicates by phone in List ID and Check for duplicates by phone in all Campaign List then click Upload Leads once done.

5. Select the correct fields for your leads e.g. Phone Number, First Name, Last Name...

6. Lead status will be posted after you successfully uploaded your lead file, Click Next to proceed.

7. Select a preferred settings for your Campaign. For the Dial Method you can choose Manual, Auto_Dial or Predictive and for the Auto Dial Level you can choose Slow, Normal, Max or High. "Carrier to use for this Campaign" allows you to choose between Manually created carrier and an existing JustGoVoIP account for your campaign. Please note that only active carriers will appear/ will be shown. Click "Finish" once done.

Softphone Configurations
For this guide we can use the following SIP account:
| Username: | 8001 |
| Password: | goautodial |
| Realm/Domain: | (Server IP) |
Agent Login Procedure
1. On the GoAutoDial main page click Agent Login
| Agent Login: | agent001 |
| Agent Password: | goautodial |
After clicking on SUBMIT your softphone/extension will ring, ANSWER the call and you will hear “You are currently the only person in this conference” DO NOT HANG UP.
Note: You must input the correct credentials for the campaign name to show up. Click Refresh Campaign List to double check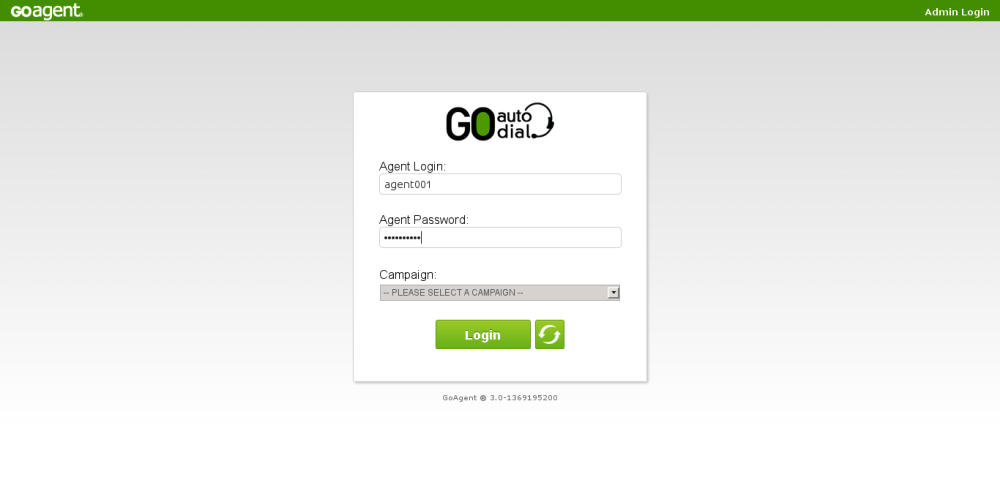
3. Click Resume Button to start receiving calls if your campaign is using a Predictive dialing or Auto Dial method of dialing
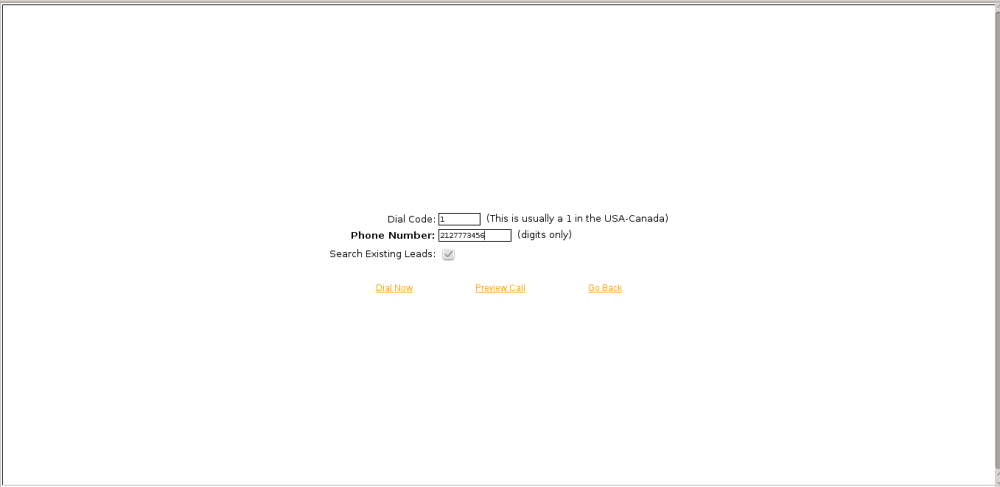
4. To do Manual Dial click the Manual Dial Button on your agent interface
NOTE:Dial Code
- For USA and Canada Route, use 1 Dial Code
- For UK, use 44 Dial code
- For AUS, use 61 Dial Code
Then input the Phone Number and Click Dial Now

The highlighted "LIVE CALL" will be the key/basis to know if the call was successfully connected
5. Click Hangup Button on the agent portal to hangup the call and select a Call Disposition
NOTE: When you are done with your shift, click on the "Logout" button in the upper right corner of the
agent screen.
Go to top